
Temporary floor protection is an essential part of any renovation or construction project. Proper installation is key to keeping your floors safe from damage. This comprehensive guide provides expert tips and trusted resources to ensure flawless floor protection.
Overview of Temporary Floor Protection Materials
There are several common materials used for temporary floor protection:
- Paper - Builder's paper or heavy cardboard sheets absorb minor impacts. Low-cost option suitable for painting projects.
- Plastic Films - Adhesive films and rolls stick to flooring surfaces to guard against scratches, spills and leaks. Ideal for carpets, wood, tile and more.
- Non-Woven Fabric - Durable non-woven mats withstand heavy equipment and foot traffic. Excellent for long-term construction zones.
- Self-Adhesive Tapes - Specialty tapes help secure floor protection sheets. Provide additional grip and stability.
More details here: Heavy-Duty Floor Protection: What and How to Choose? (2024 Update).
Choosing the Right Temporary Floor Protection
Consider these factors when selecting materials:
- Flooring Type - Sensitivity and breathability needs of wood, tile, concrete, etc.
- Project Length - Short or long-term protection.
- Foot Traffic - Light, medium or heavy based on workers and equipment.
- Liquid Resistance - For paint jobs or wet construction work.
- Accessibility - Ease of cleaning and maintenance during installation.
- Special Properties - Non-slip, fire retardant, cushioning for heavy impacts.
Get expert product recommendations from manufacturers like Spriteshield, Trimaco or Pro-Tect.
Step-by-Step Installation Guide
Follow these steps to properly install temporary floor protection:
1. Clean Surfaces
Sweep and mop floors to remove any dirt, dust or debris. Vacuum carpets and rugs. This allows for maximum adhesion and smooth application.
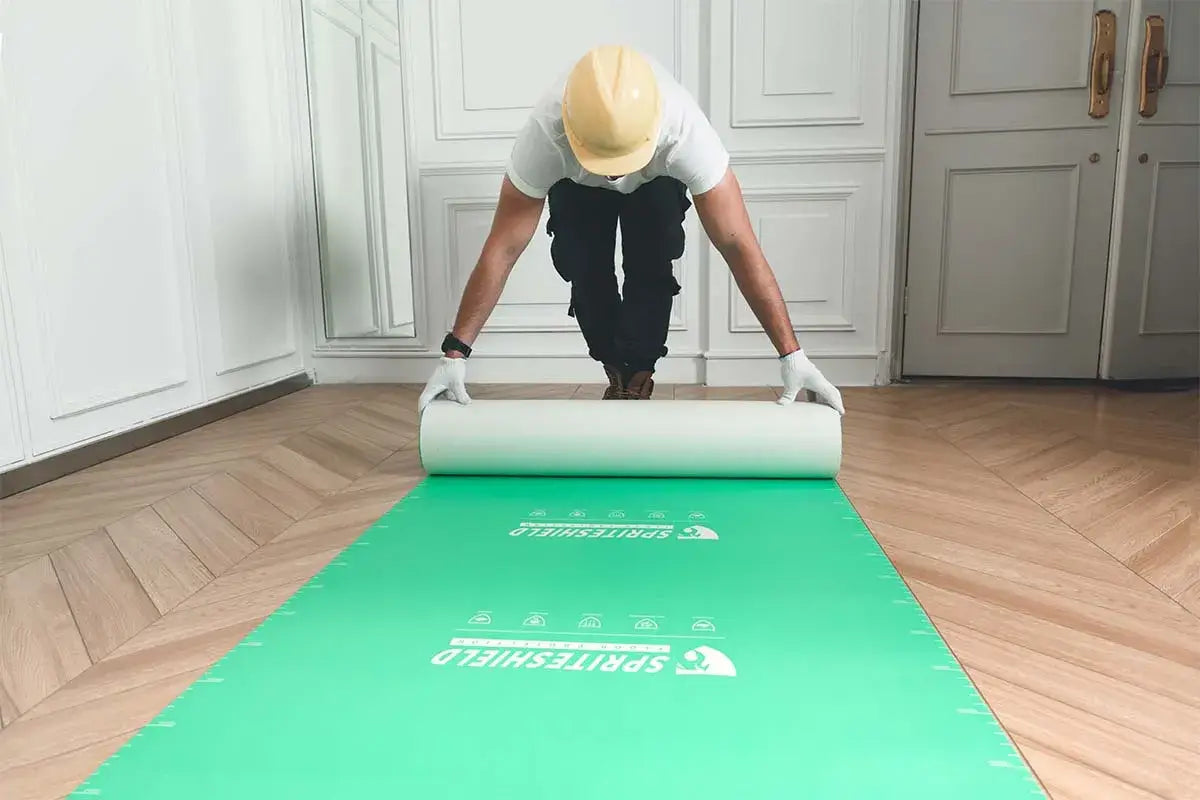
2. Measure and Cut Material
Measure the floor area and cut sheets or rolls to the appropriate size. Allow for 2-3 inch overlap at seams. Use sharp blades and smooth edges.
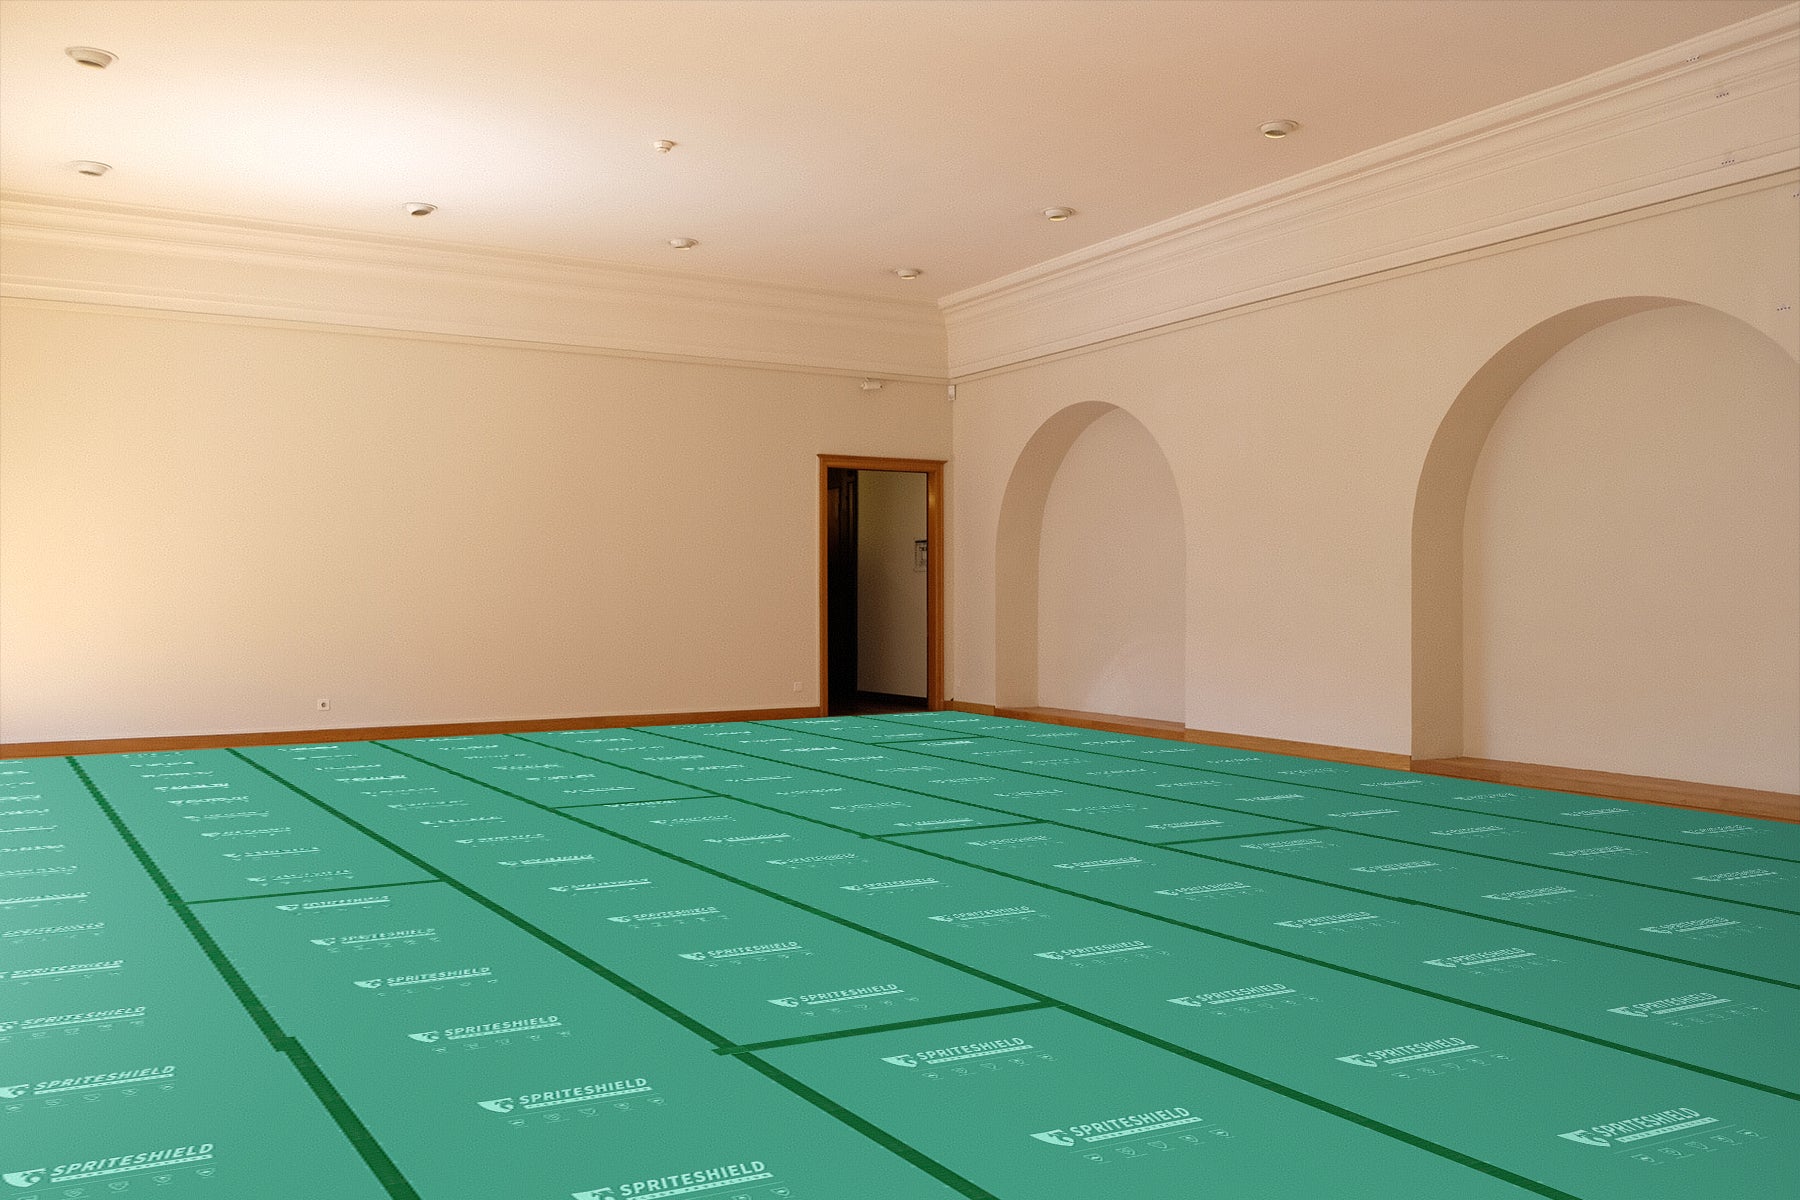
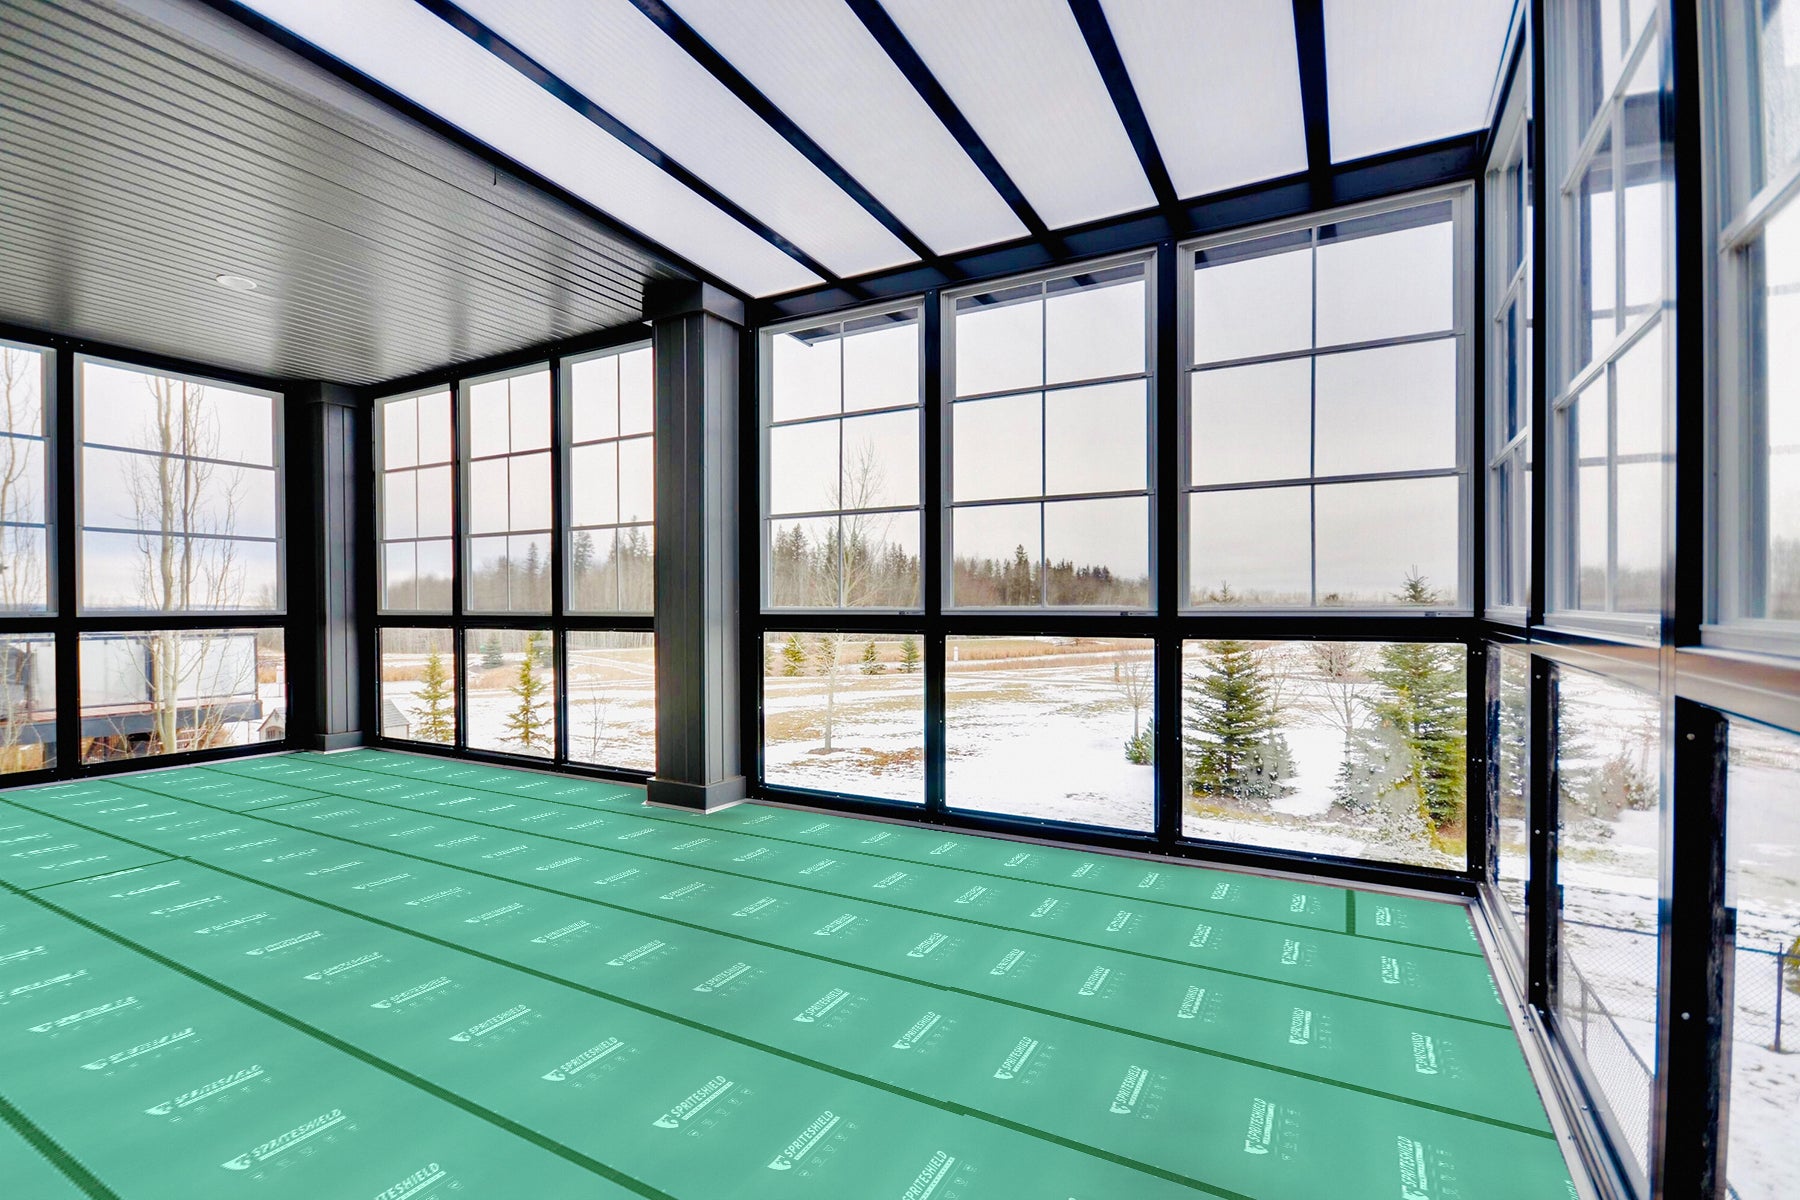
3. Apply Protection
Carefully roll out sheets or unroll film, smoothing out any air pockets or wrinkles. For carpets, apply adhesive side down.
4. Secure Edges and Seams
Use painter's tape or proprietary seam tape to seal all edges, seams and overlaps. This prevents tripping hazards.
5. Inspect for Gaps
Scan for any unprotected gaps where material has shifted. Fill these in with extra pieces or tape to avoid damage.
6. Check High-Traffic Areas
Inspect high-traffic areas around entries, hallways and work zones. Make sure protection is secure. Tips here: Protecting Elevator Entrances: The Ultimate Guide to Robust Floor Defense!
7. Allow for Safe Access
Never block doors or pathways. Trim material to allow for safe foot traffic and emergency access.
![]()
Helpful Tools and Safety Tips
Use these tools for easy installation and safety:
- Applicators - Smoothes material and prevents bubbles during application.
- Seam Rollers - Applies strong pressure to tapes for leakage protection.
- Safety Knives - Provides control for accurate trimming and cutting.
- Gloves - Protect hands from sharp edges when cutting materials.
Prioritize safety by posting caution signs if floor protection is slippery. Monitor high-traffic areas frequently and re-secure edges whenever necessary.
Elevate Your Renovation Game
Proper temporary floor protection is paramount for construction and renovation projects. Following this comprehensive installation guide will allow you to keep your floors pristine. Refer to the manufacturer's instructions for the specific material you select. With the right protection properly applied, you can have peace of mind during any home improvement project.
Leave a comment
All comments are moderated before being published.
This site is protected by hCaptcha and the hCaptcha Privacy Policy and Terms of Service apply.