
Introduction
When undergoing a renovation or construction project, temporary floor protection is essential to preventing damage to floors. However, choosing and applying the wrong floor protection can lead to costly mistakes that can delay project timelines and increase expenses.
This article will discuss advanced tips for choosing and applying temporary floor protection to avoid these mistakes.
Application methods
Here are some critical tips for applying temporary floor protection:
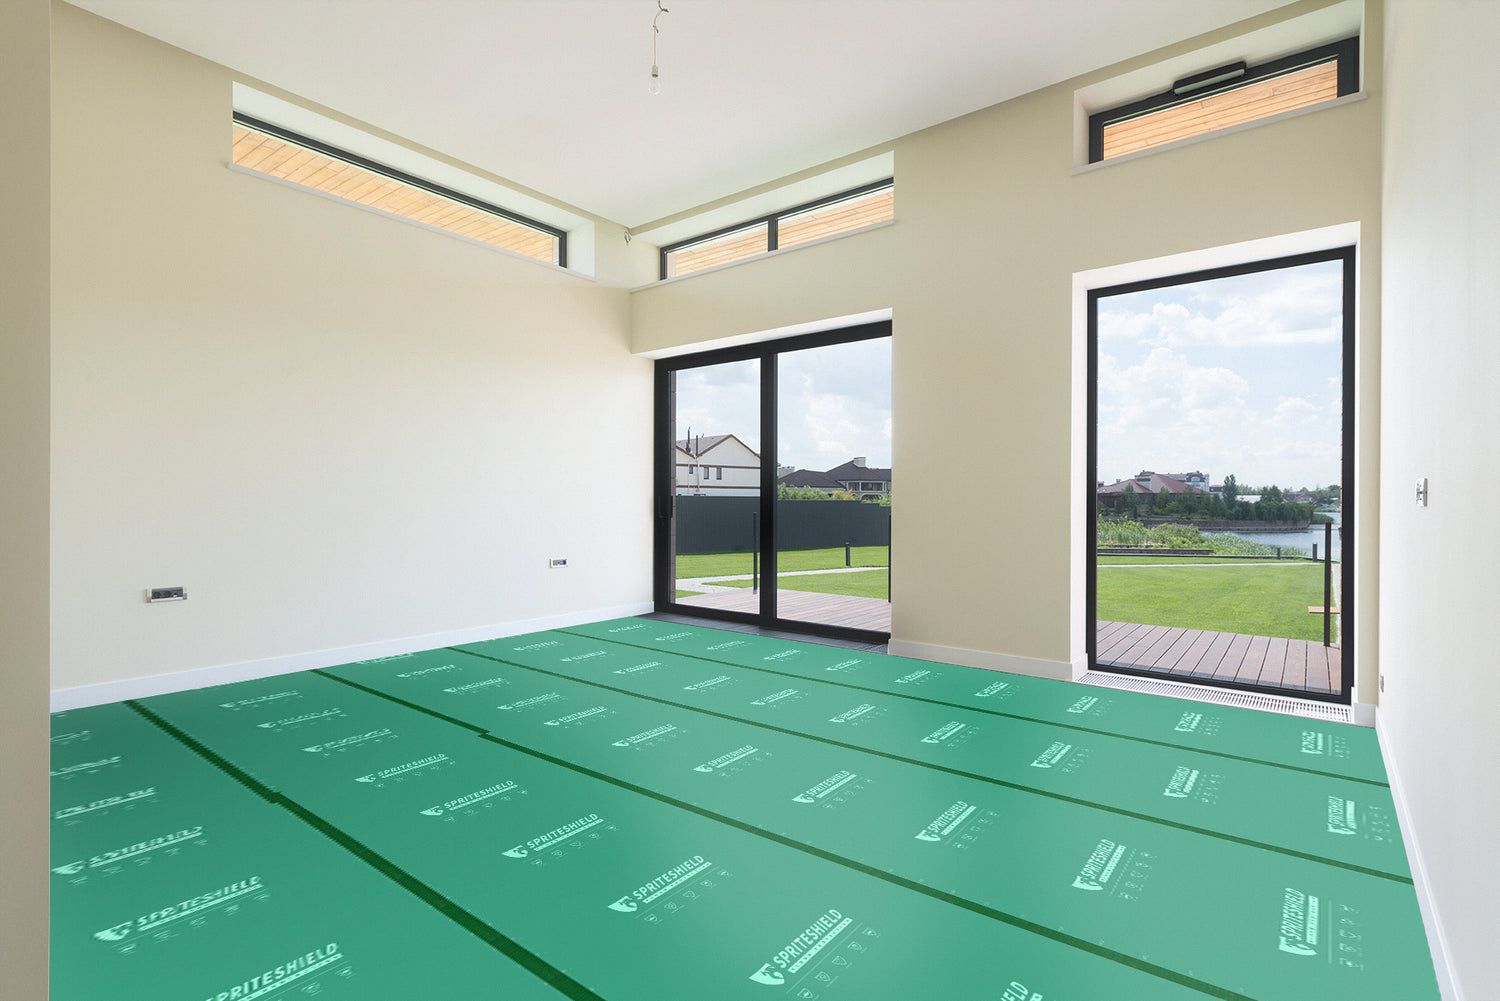
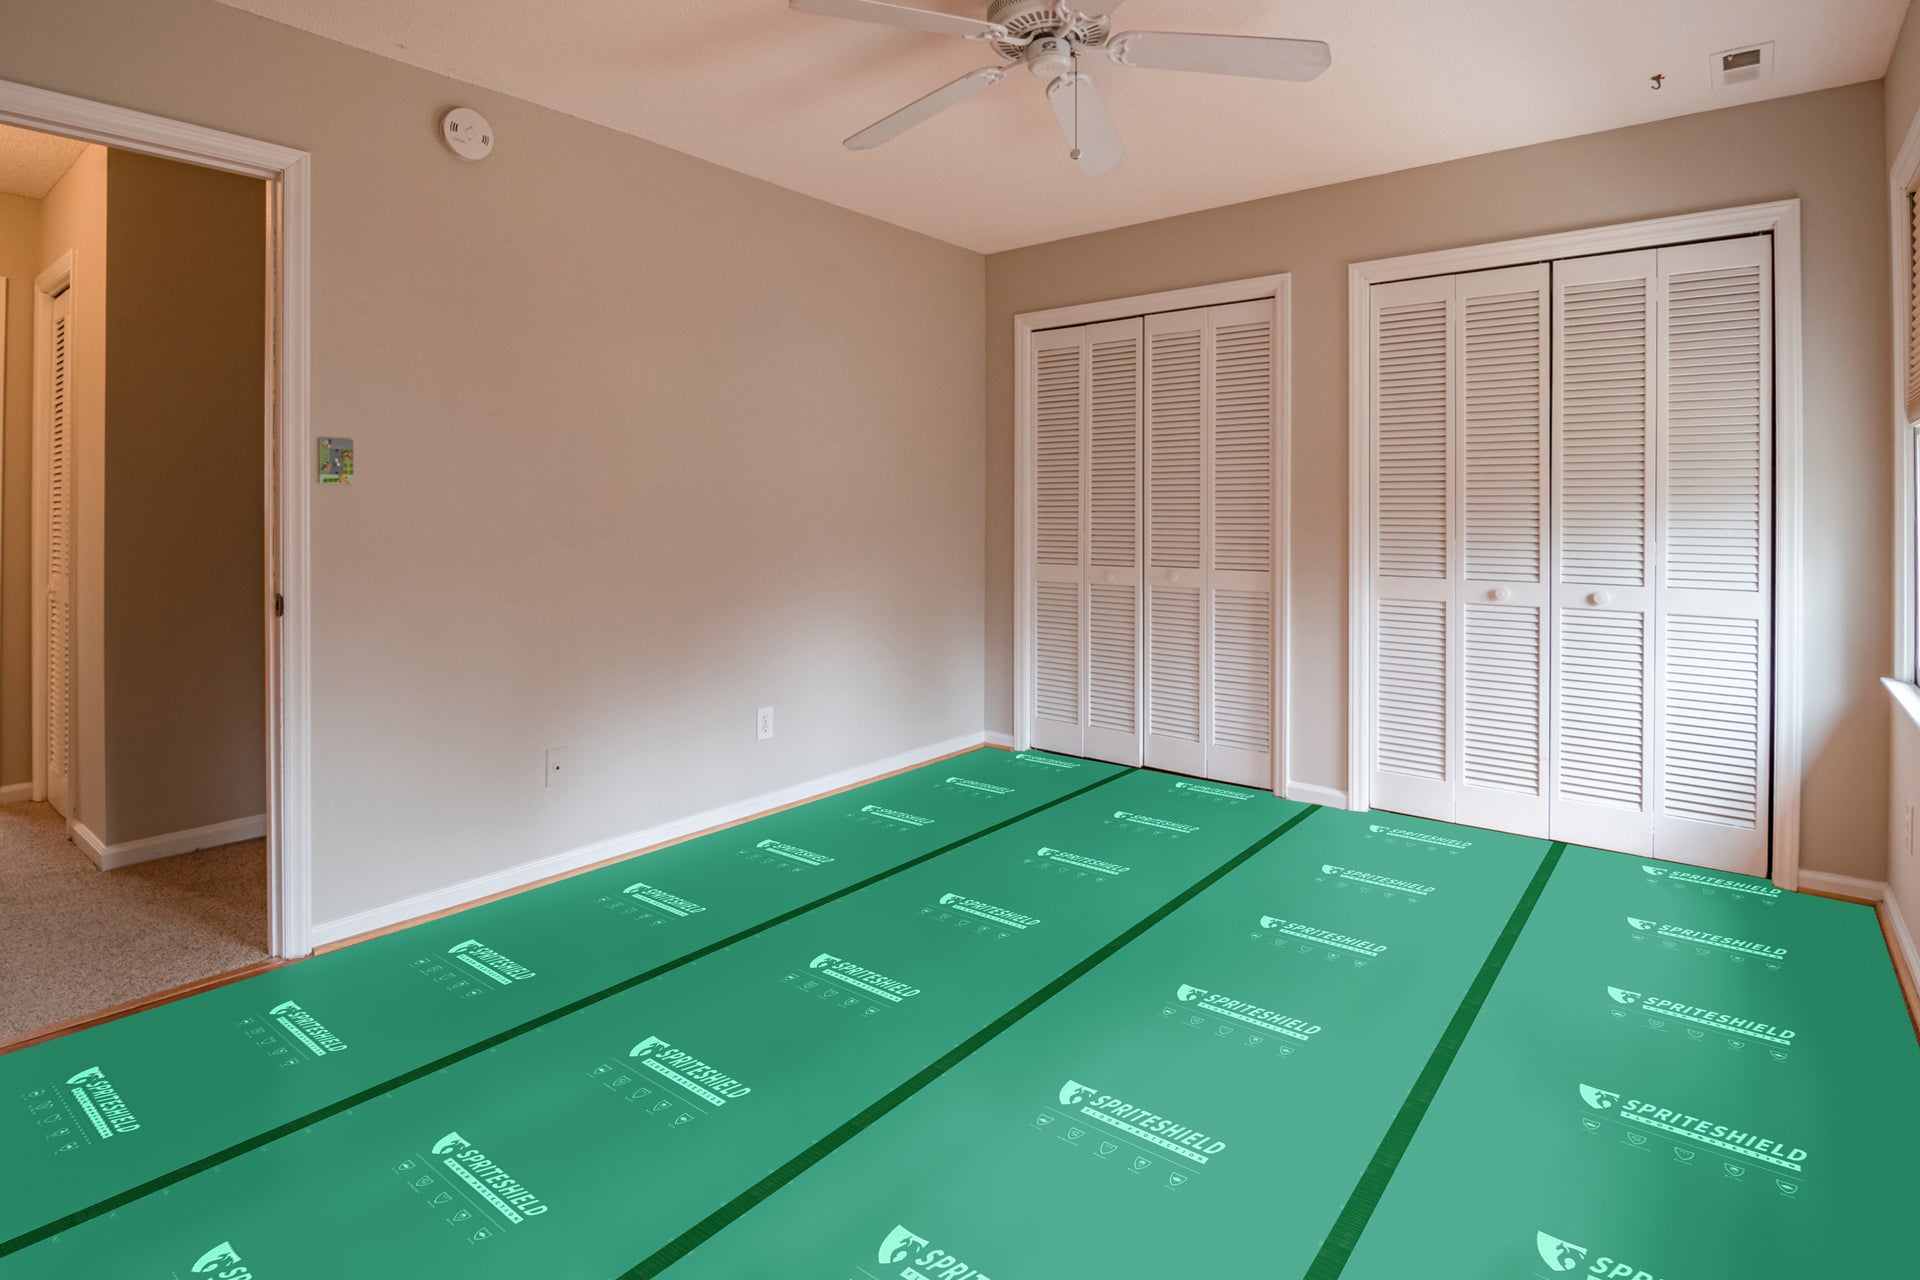
- Lay out the protection material over the area that needs coverage before adhering it to the floor. This allows you to determine how many sheets are needed and ensures full coverage with no gaps.
- Use the appropriate adhesive for securing the protection. For example, use spray adhesive, double-sided tape, or rolls of tape to stick plastic sheeting in place. Use tape designed for carpet protection to adhere floor mats or carpet remnants to the surface. Find our best edge tape here.
- Apply the adhesive or tape evenly over about half the surface of the protective covering before sticking it to the floor. Press firmly to ensure maximum adhesion.
- Continue smoothing out air bubbles and sticking the material on the surface as you lay it down over the floor. Use a roller or seam sealer to bond edges and seams together.
- Tape down the edges and seams of the protective covering using adhesive tape or the flooring seam tape to prevent tripping hazards. Place strips of tape about every 1-2 feet along the edges.
- Extend the protective covering several inches up each wall to fully encapsulate the area. This prevents debris from getting underneath the cover.
- Place trim pieces, wood blocks, or furniture sliders under tables, chairs, and heavy equipment to prevent concentrated rubbing or scratches.
- Clearly mark areas covered with protective sheeting so they can be easily identified during construction. Use visible warning signs, paint markings, or strategically placed pieces of tape.
- Perform regular walk-throughs to ensure all protective coverings remain securely in place. Re-apply or replace damaged protection immediately to avoid floor damage.
- Carefully remove all temporary protection and any remaining tape or debris when the project is complete. Check our blog post to find out more.
- Inspect the floor for any damage once all protection has been removed and make necessary repairs before moving back in.

Surface preparation
Some important things to consider when preparing surfaces for temporary floor protection include:
- Clean the floor thoroughly. Vacuum carpets, sweep hard floors, and mop or dust mop as needed to remove any dirt or debris. This will ensure the floor protection adheres properly to the clean surface.
- Repair any damaged areas. Patch holes, cracks, scratches, or rough spots in the flooring before applying protection. Protective materials will not adhere well to uneven surfaces.
- Sand or rough smooth surfaces. Sanding or roughing the surface slightly on very slick flooring like polished stone will provide more "tooth" for the floor protection to grip onto.
- Moisture barriers. Apply a moisture barrier or vapor retarder under the floor protection for concrete floors or areas prone to high humidity. This prevents excess moisture from damaging or distorting the protective material.
- Primer. Some flooring types, like concrete, may require a primer before applying protection. A primer helps the adhesive on the floor protection bond better to the floor surface. Follow the recommendations for your specific flooring type.
- Sealers. Porous floorings like stone, tile, or wood may need to be sealed before protection is applied, especially if the protection contains adhesive. The sealer prevents the adhesive from soaking into and damaging the porous material.
- Weight restrictions. For floors with maximum weight restrictions, like elevated floors or rooftops, do not exceed those limits, even with temporary floor protection. The combined weight of construction materials, equipment, and protection could damage the floor.
- Layout and place protection. Carefully lay out the protective material over the work area before fully adhering it to ensure proper coverage with no seams in high-traffic areas. Place adequately sized boards or sheets, when possible, to minimize seams.
- Securing edges. Apply construction adhesive, double-sided tape, or tape specifically meant for securing edges around the perimeter of the protection to prevent tripping hazards.
- Re-preparing. Periodically check the adhesion of the protection and re-prepare any loose or damaged edges during the construction process. This helps ensure the continued protection of your flooring.

Removal methods
Check 16 Temporary Flooring Options That Won't Ruin Your Floors blog and view more.
Here are some tips for properly removing temporary floor protection:
- Inspect the flooring first. Do a final walkthrough of the area under the protection to ensure no damage occurred before removing any coverings. Note any issues to be repaired once the protection is off.
- Carefully peel off the plastic sheeting. Start at one corner or edge and peel the sheeting off at an angle using a putty knife or laminate roller. Peeling at an angle prevents excess adhesive from sticking to the flooring.
- Soak adhesive remaining. Use a solvent such as Goo Gone, lacquer thinner, or citrus degreaser to help loosen any remaining adhesive from the flooring before scraping it off with a putty knife. Apply the solvent generously, let it soak in, and then scrape it off.
- Heat adhesive and tape. If spraying solvents does not loosen the adhesive, try heating it with a hair dryer or specialized industrial heat gun. The heat will help soften the adhesive for easier scraping and removal. Be very careful not to scorch or discolor the flooring.
- Use a tool specifically designed for removal. Putty knives, laminate rollers, paint scrapers, seamers, drywall knives, and sheet rockers can work well to separate adhesive and protective material from different floor types.
- Avoid damage to edges and corners. Use a putty knife or corner square to carefully separate the edges and corners of the protection. These areas tend to have the most adhesion built-up and require precision removal.
- Sand rough areas. Use fine-grit sandpaper (400 grit or higher) to sand any remaining rough areas or uneven adhesive residue left on the floor. Rub away dust with a tack cloth.
- Touch up sealers or finishes. Apply additional coats of recommended sealers, polishes, or floor finishes to any areas where the damage occurred during removal. Allow proper drying times between coats.
- Inspect final results. Do a visual inspection of the entire work area to ensure all adhesive residue has been removed. Use a flashlight to view dark areas. The remaining residue can lead to damage over time.
- Test bonded areas. On sensitive floorings like wood, laminate, or vinyl, perform bond tests in inconspicuous areas to ensure no adhesive remains under the surface before allowing foot traffic on the floor.
Conclusion
In conclusion, choosing and applying temporary floor protection requires careful consideration to avoid costly mistakes that can delay project timelines and increase expenses.
By considering the type of flooring, choosing the right material, determining the time needed, testing before applying, using appropriate tape, and replacing protection when necessary, you can ensure that your project is completed smoothly and without damage to your flooring.

Leave a comment
All comments are moderated before being published.
This site is protected by hCaptcha and the hCaptcha Privacy Policy and Terms of Service apply.