

If you're taking on a home renovation, get ready for an exciting ride! Updating your space can be super rewarding, but it also has its challenges. Knowing what to expect will help you plan and stay sane throughout the process. This guide breaks down each step from start to demolition to the fun finishing touches.
Phase 1: Design - Crafting Your Vision
The design phase lays the critical foundation for your renovation project. Meeting with an architect or designer allows you to share your vision for each space, goals, and budget. They can suggest layouts, materials, and other details to bring your style to life.
Getting quotes from several contractors will help accurately estimate total costs-factor in both labor and materials, which can really add up. Building in a buffer for unexpected expenses is wise - renovations often end up costing more than initially predicted.
To access more detailed information about future construction cost trends, click here: Will Construction Costs Go Down in 2023-2024?
Once you have the plans and budget solidified, it's time to hire contractors. Look for licensed, insured pros with glowing reviews and strong portfolios. This protects you if any damages occur during the reno. Before demolition work begins, have the contractors sign contracts covering the scope, timeline, warranty, payment terms, and other details. They can also pull any required permits based on your region and project type.
With the design vision set and the team assembled, you'll be ready to kick off the exciting transformation ahead.
Phase 2: Prepping Your Home
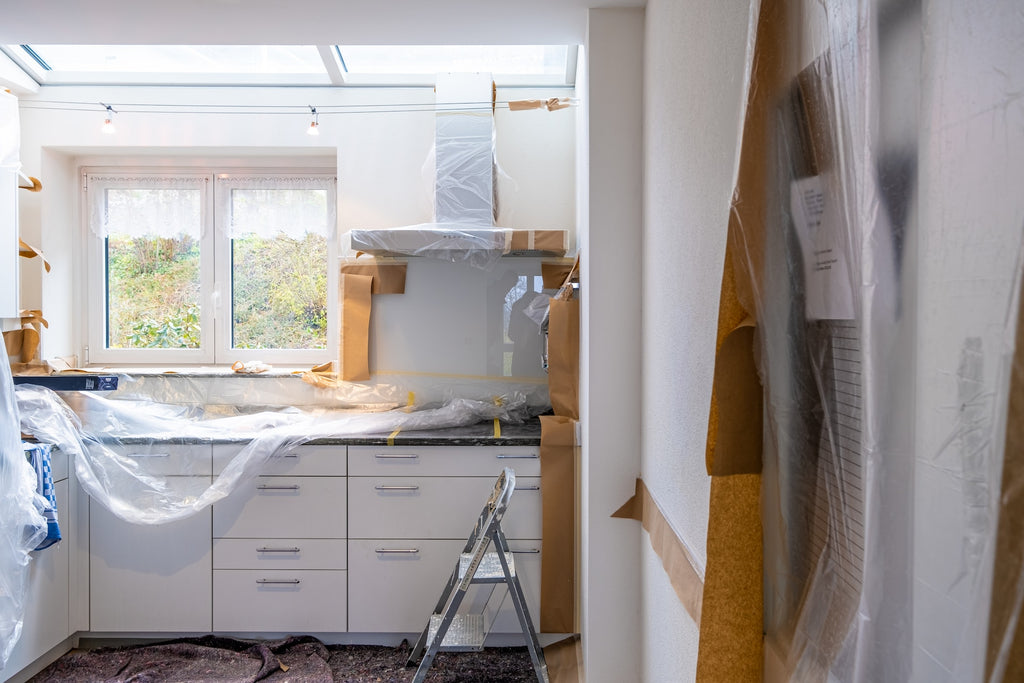
Before the work begins, you need to prep your space to limit dust and damage during the renovation.
First, remove any furniture, art, and valuables from the zones being renovated. You don't want your precious items covered in dust or dinged up by workers moving through. Take photos of each room before changes happen - it's easy to forget the original details later on!
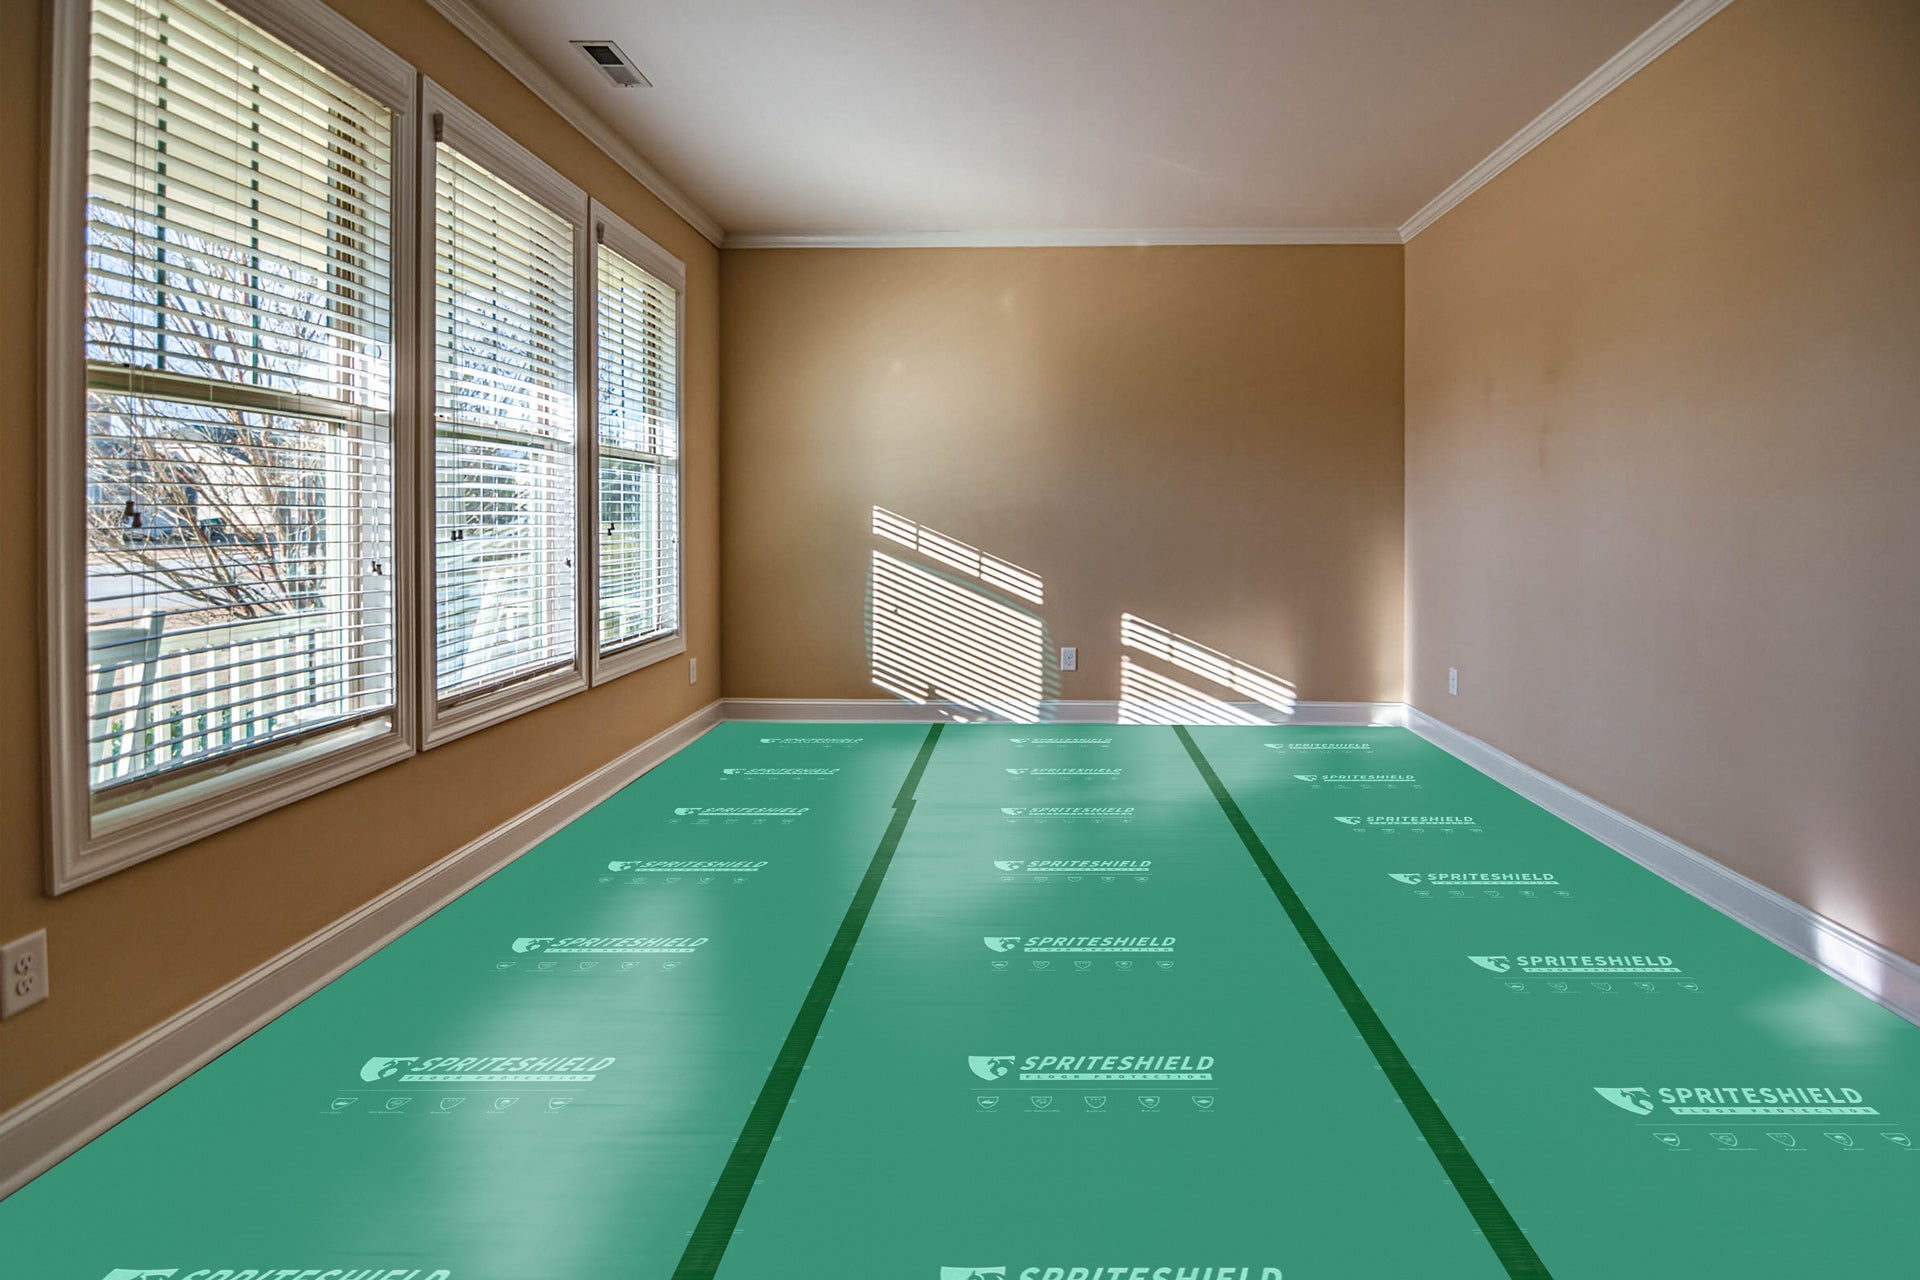
To protect existing floors and surfaces, use heavy tarps and high-quality floor protectors. Cover doorways with plastic sheeting to seal off rooms. This contains the mess and makes cleanup much easier when it's over.
If you're staying in your home during the reno, set up barriers to keep debris away from living zones. Things get really messy during demolition! Having separate clean areas maintains sanity.
Read more about Quality Control: 15 Tips for Quality Control in Construction [+Checklist Sheet] 2023.

Phase 3: Demolition Days
This is when the real work begins! The demolition crew starts by ripping up old flooring and tearing down marked walls to alter the layout per the plans. Kitchen and bathroom fixtures also get gutted.
Hazardous stuff like asbestos requires extra safety protocols for removal - make sure your crew knows how to handle it properly. They'll haul loads of debris away in dumpsters. Watching your home get gutted can be tough, but it's making way for better things!
The crew may temporarily brace existing structural elements so the integrity stays intact as walls come down. Having professionals who know how to demolish safely prevents collapse or other dangers - don't try this yourself.

Phase 4: Framing and Rough Work
Next up - rebuilding the new framework! The framing carpenters construct fresh walls, alter layouts, and expand rooms using wood beams. They'll reinforce load-bearing structures properly so the new sections are sturdy.
Once the bones are set, it's time for the mechanicals. Plumbers, electricians, and HVAC techs come into route systems through the new walls, ceilings, and floors. Making sure the electrical, plumbing, and ductwork meet building codes from the start avoids issues down the road.
Phase 5: Insulation, Drywall, Paint
Before flooring and trim go in, the insulators fill cavities in walls, ceilings, and attics with insulation for energy efficiency. Then, drywall boards get affixed over the framing and smoothed into seamless surfaces for painting.
Priming and painting the ceilings and existing walls early is smart - it prevents splatters on the pretty new finishes you add later on. Fresh color also brightens up the home after all that demolition gloom and dust!
If you would like to learn more about common insulation types, you can read: 5 Common Types Of Insulation You Should Know.
Phase 6: Cabinetry, Trim, Details
Now for the fun stuff! Your choices, like custom cabinetry, stylish countertops, and unique backsplashes, get installed to personalize the home. Woodworkers add trim details and crown molding to finish framing the spaces beautifully.
Lighting fixtures, hardware, mirrors, and other decorative touches you've picked out get incorporated to reflect your taste and style. This is when you start seeing your dream home come to life!
Click here to discover additional tips on how to personalize your home: 9 Ways to Personalize Your New Home.
Phase 7: Flooring Installation
Once construction debris is cleared out, flooring goes down. Carpet, hardwood, tile - options galore! Choose materials suited for each room, then have pros install them for flawless results.
Flooring comes later in the sequence, so it doesn't get damaged during ongoing work. Properly prepping the subfloors ensures your new floors have an even surface to adhere to.
Read more tips about Temporary Flooring Options That Won't Ruin Your Floors.
Phase 8: Finishing Touches
The final stretch involves completing the last details, deep cleaning from top to bottom, and enjoying your finished home! Do a final walkthrough to inspect all the work - make sure to check every nook and cranny.
With a successful sign-off, furnish your refreshed rooms and show it off! All the planning, stress, and messes pay off when you see the incredible transformation.
Timeline and Staying on Track
The length of your renovation depends on the scope of work. As a general guideline:
- Minor updates like kitchen or bath remodels: 4-8 weeks
- Whole home gut renovations: 8-12 weeks
- Large custom homes/additions: 12+ months
However, many factors can influence timelines:
- Permits - Building permits and inspections add time. Research your local permit process and account for a few weeks of back-and-forth. Streamline by having documents and plans ready for submittal.
- Weather - Bad weather can stall exterior work and material deliveries. If possible, start projects during warmer seasons to avoid winter delays.
- Backorders - Popular or custom materials like cabinets and lighting fixtures can have long lead times. Order early and choose in-stock options when you can.
- Crew overlaps - Stagger tradespeople properly to keep work flowing smoothly between phases.
- Unknown conditions - Surprises like mold, faulty wiring, or rot must be remediated. This adds time.
- Change orders - Any design changes during the project can add days or weeks. Minimize this by finalizing plans early.
To stay on schedule, build in a 10-20% buffer for potential delays when estimating timelines. Daily communication, diligent project management, and decisive problem-solving also keep renovations on track. Be ready to be flexible - projects rarely stick exactly to the original timeline. With proper planning from the start, you'll be able to handle shifts seamlessly as they arise.
Bonus Tips for a Smooth Renovation
A home renovation is a big undertaking, but a few key tips can help it go more smoothly:
- Communicate regularly with contractors: Check in frequently to discuss progress, changes, delays, etc. Good communication prevents misunderstandings.
- Be flexible: Projects often take longer and cost more than expected. Having contingency funds and being adaptable helps you handle surprises.
- Research permit and code requirements: Building codes protect safety, so learn what inspections and permits you need. This prevents having to redo work. Read to know more about building codes: Ask The Contractor: Things To Know About The Building Code.
- Hire a project manager: For big renovations, having a dedicated manager who oversees the entire process can be worth the cost. They coordinate all the contractors seamlessly.
- Set up a temporary kitchen: If your kitchen is being renovated, create a temporary cooking space nearby to maintain normalcy. This could be as simple as a hot plate and microwave.
- Take lots of photos: Documenting each step of demolition and construction helps you see the amazing progress your home makes. Looking back at "before" shots later is fun too!
- Be prepared to problem solve: Projects rarely go 100% smoothly, so be ready to troubleshoot issues alongside your contractors. Maintaining patience and optimism gets you through challenges.
Conclusion
Bringing your dream home to life through a renovation takes time, effort, and patience. But the payoff is invaluable - you get to enjoy a personalized living space tailored to your needs and style for years to come. All the planning and hard work lead up to that magical moment when you first step foot into your transformed home. Embrace both the exciting milestones and challenging hiccups throughout the process. With an experienced team and the right preparation, you'll gain memories and results that make every penny worthwhile. The final product will not only be beautiful, but distinctly and perfectly you.

Leave a comment
All comments are moderated before being published.
This site is protected by hCaptcha and the hCaptcha Privacy Policy and Terms of Service apply.