

Quicklook of this blog:
| Aspect | Details |
|---|---|
| Importance of Floor Insulation | Prevents heat loss, improves energy efficiency, and maintains comfortable warmth. |
| How It Works | Insulation resists conductive heat flow, creating a barrier between indoor air and external temperatures. |
| Materials | Fiberglass batts, rigid foam boards, spray foams, loose-fill cellulose. |
| Timber Frames with Underfloor Cavity | Use fiberglass batt, mineral wool, or loose-fill cellulose insulation between joists. |
| Concrete Slabs | Rigid foam board insulation placed atop or below the cured concrete. |
| Stone/Brick Floors | Limited space for insulation; use cork underlays and layered rugs. |
| DIY Installation | Possible for underfloor batts and foam boards; requires care and patience. |
| Benefits | Reduced energy bills, consistent warmth, noise reduction, increased resale value. |
| Costs | Varying per material; potential rebates available. |
| Floor Protection During Installation | Use of drop cloths, rosin paper, plastic sheeting, and proper debris disposal. |
| Long-Term Rewards | Significant energy savings, enhanced comfort, and better home valuation. |
Proper floor insulation is critical for preventing heat loss, improving energy efficiency, and keeping your home comfortably warm. As heat escapes through poorly insulated floors, energy bills climb while comfort plummets. Fortunately, selecting the right insulation strategy for your existing floor type and DIY or professional installation can transform even drafty floors into warmer, more cost-efficient spaces.
How Floor Insulation Works
Insulation placed under, within, or atop floor framing creates resistance to conductive heat flow, forming a barrier between conditioned indoor air and external temperatures.
Materials like fiberglass batts, rigid foam boards, spray foams, and loose-fill cellulose each block heat transfer in their own way. As heat tries to pass through the insulation, the rate of transfer slows dramatically, keeping floors warmer and preventing energy waste. Consequently, properly insulated floors enable homeowners to set thermostats lower while still enjoying cozy floors and reduced utility expenses.
Match Solutions to Common Floor Constructions
An insulation strategy tailored to the specific floor structure is crucial for success. Identifying your existing floors guides proper product selection and installation methods. Common options include:
Timber Frames with Underfloor Cavity
Timber strips or boards allowing an air gap underneath are great candidates for standard fiberglass batt, mineral wool, or loose-fill cellulose insulation between joists. These help prevent conditioned air from escaping below.
Concrete Slabs
Solid concrete slab floors require rigid foam board insulation placed atop the cured concrete before finishing floor layers. Foam boards are also suitable for installation below existing slab floors, however.
Stone/Brick Floors
Charming solid stone, brick, and tile floors offer little space for integral insulation without full replacement. Cork underlays and layered rugs help, but new flooring allows the best insulation solutions.

Install Batts or Loose-Fill Insulation Under Timber Framing
Timber floor frames consisting of strips or boards with an air cavity below are notorious for heat gain/loss. Prevent precious heated/cooled air from seeping into basements and crawlspaces by installing insulation between joists. Fiberglass and mineral wool batts provide an effective moisture-resistant barrier when inserted fully into joists cavities. Cellulose and fiberglass loose-fill insulations also perform well when dense-packed, although extra care must be taken to avoid settling.
Always allow space for adequate subfloor ventilation to minimize moisture buildup and decay over time. Vapor barriers like Kraft paper facing further guard against condensation without obstructing airflow. For inexperienced DIYers, unfaced batts tucked carefully between joists represent an easy, affordable option. More adventurous installers may opt for spray foam insulation injected under subflooring to seal small gaps as they expand and harden.
Insulate Concrete With Rigid Foam Boards
Unlike timber framing, concrete slab floors contain no hollow cavities for basic batt insulation. Solid concrete also readily transfers heat, causing discomfort and high energy bills. Fortunately, rigid foam insulation boards add tremendous insulating value when installed above or below the slab.
Foam boards rated for subgrade use allow moisture passage, preventing condensation concerns within floor assemblies. Set foam board atop leveled gravel, and overlapping seams before pouring new slab concrete to achieve integrated insulation values. For existing slabs, adhesive and mechanical fasteners attach foam layers securely to the cured concrete before the flooring finishes. Use foam compatible with slab moisture levels to deter water damage. Laborious demolition is unnecessary!
Another option gaining popularity is insulating concrete, integrating lightweight air pockets and insulating additives directly into the concrete mix before pouring. As technology advances, expect the performance of insulated concrete slabs to improve.
Warm Up Solid Floors With Underlays and Rugs
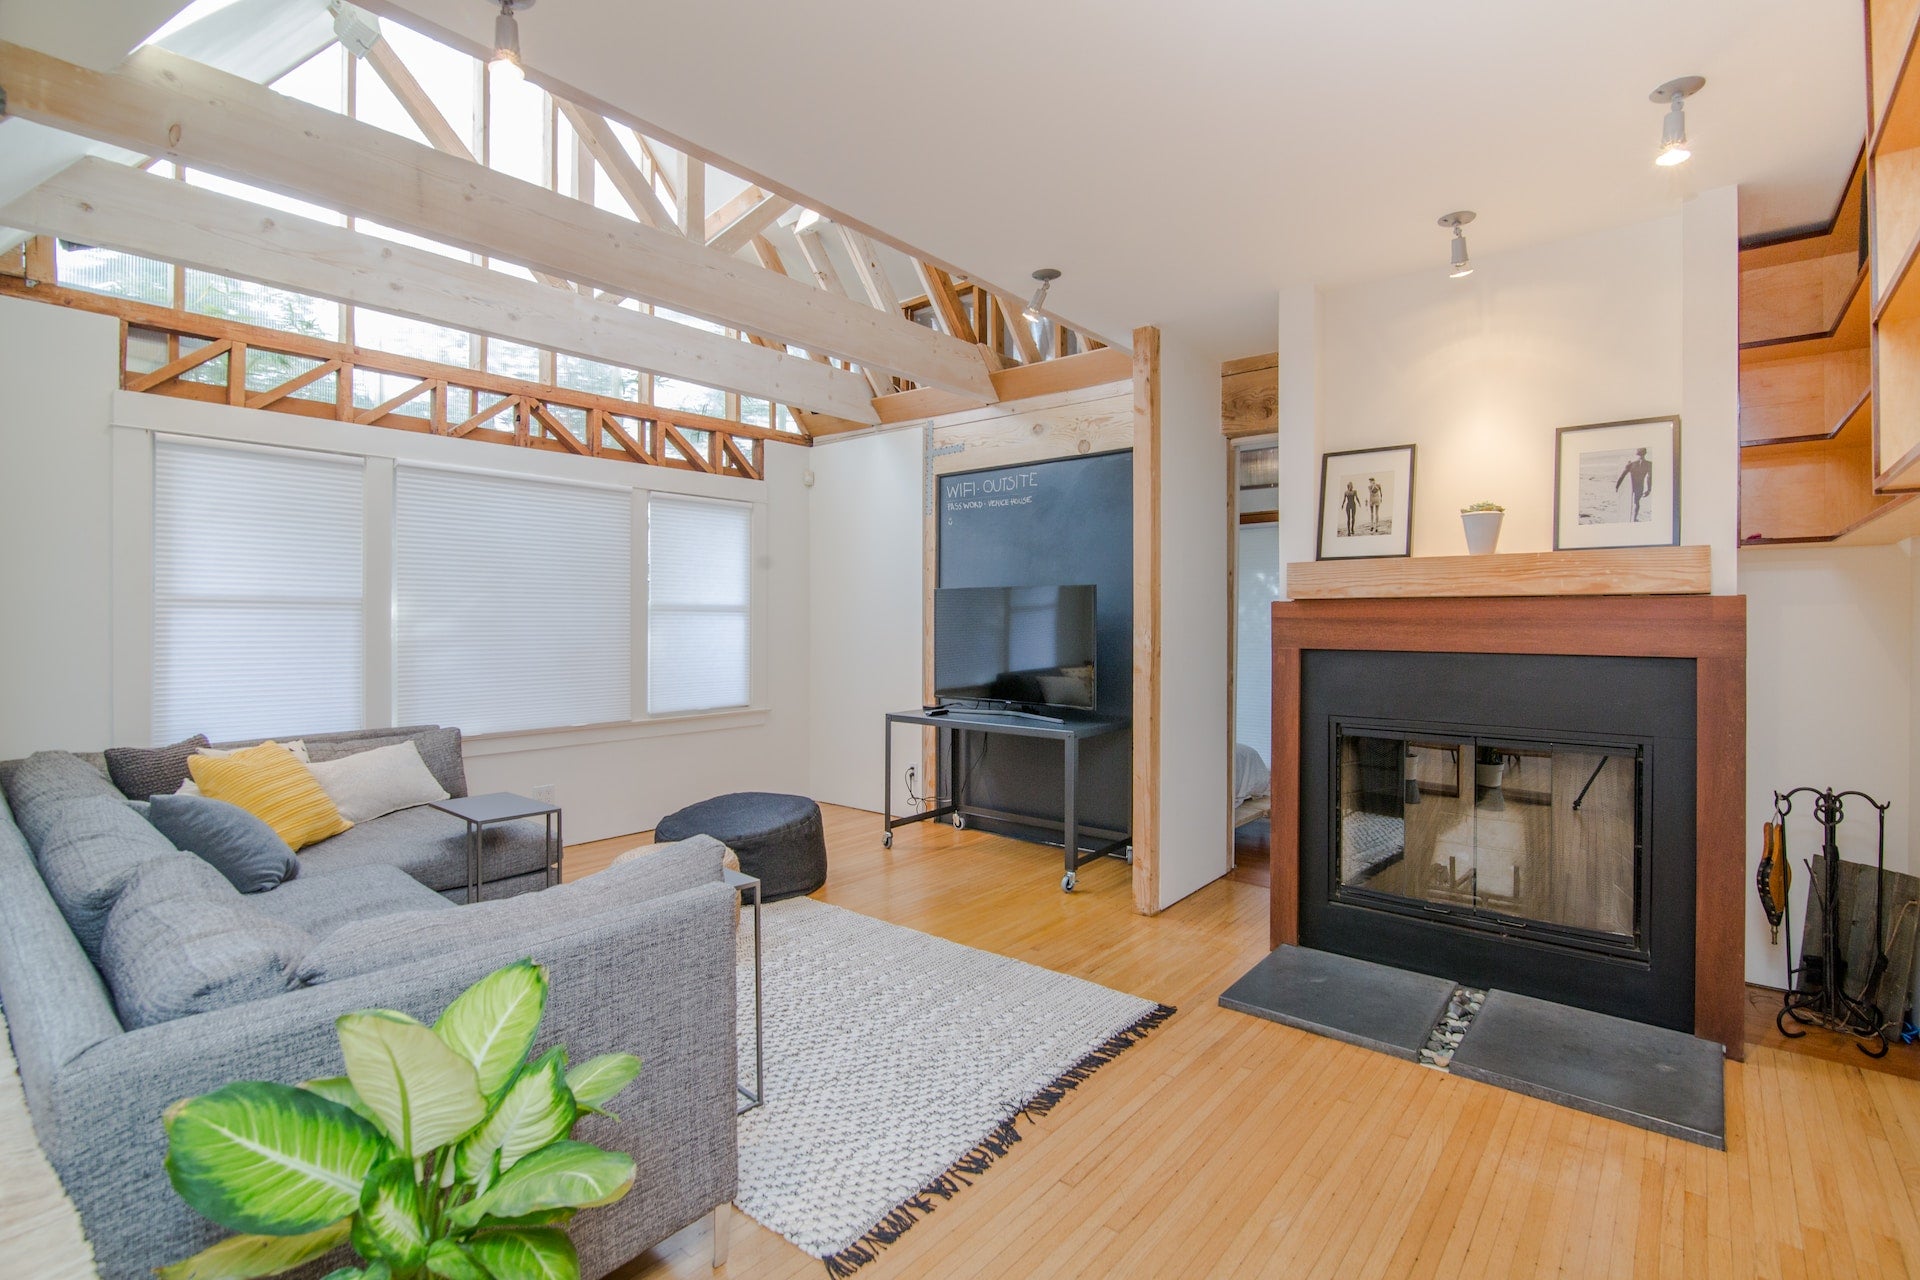
Homes boasting original wood strip floors or charming solid masonry reveal their age through nonexistent insulation hindering thermal performance. Attempting to insulate these floors conventionally means ripping up the floor structure itself. In historic homes especially, this could destroy coveted period architectural detail. While cork sheets as underlays supply a hint of warmth and cushioning for solid floors, even more, significant comfort gains come from layering plush rugs.
Rugs layered wall-to-wall provide additional padding and insulation value from feet up. Underlays and rugs combined create noticeable comfort that dissuades the demolition of antiquated yet aesthetically irreplaceable flooring. For owners remodeling down to floor framing anyway, fresh floor installation allows integrating modern insulation techniques like foam boards and thermal breaks. But if in reasonable condition overall, charming old floors need not freeze out occupants when thoughtfully augmented.
Enjoy Satisfying DIY Installation
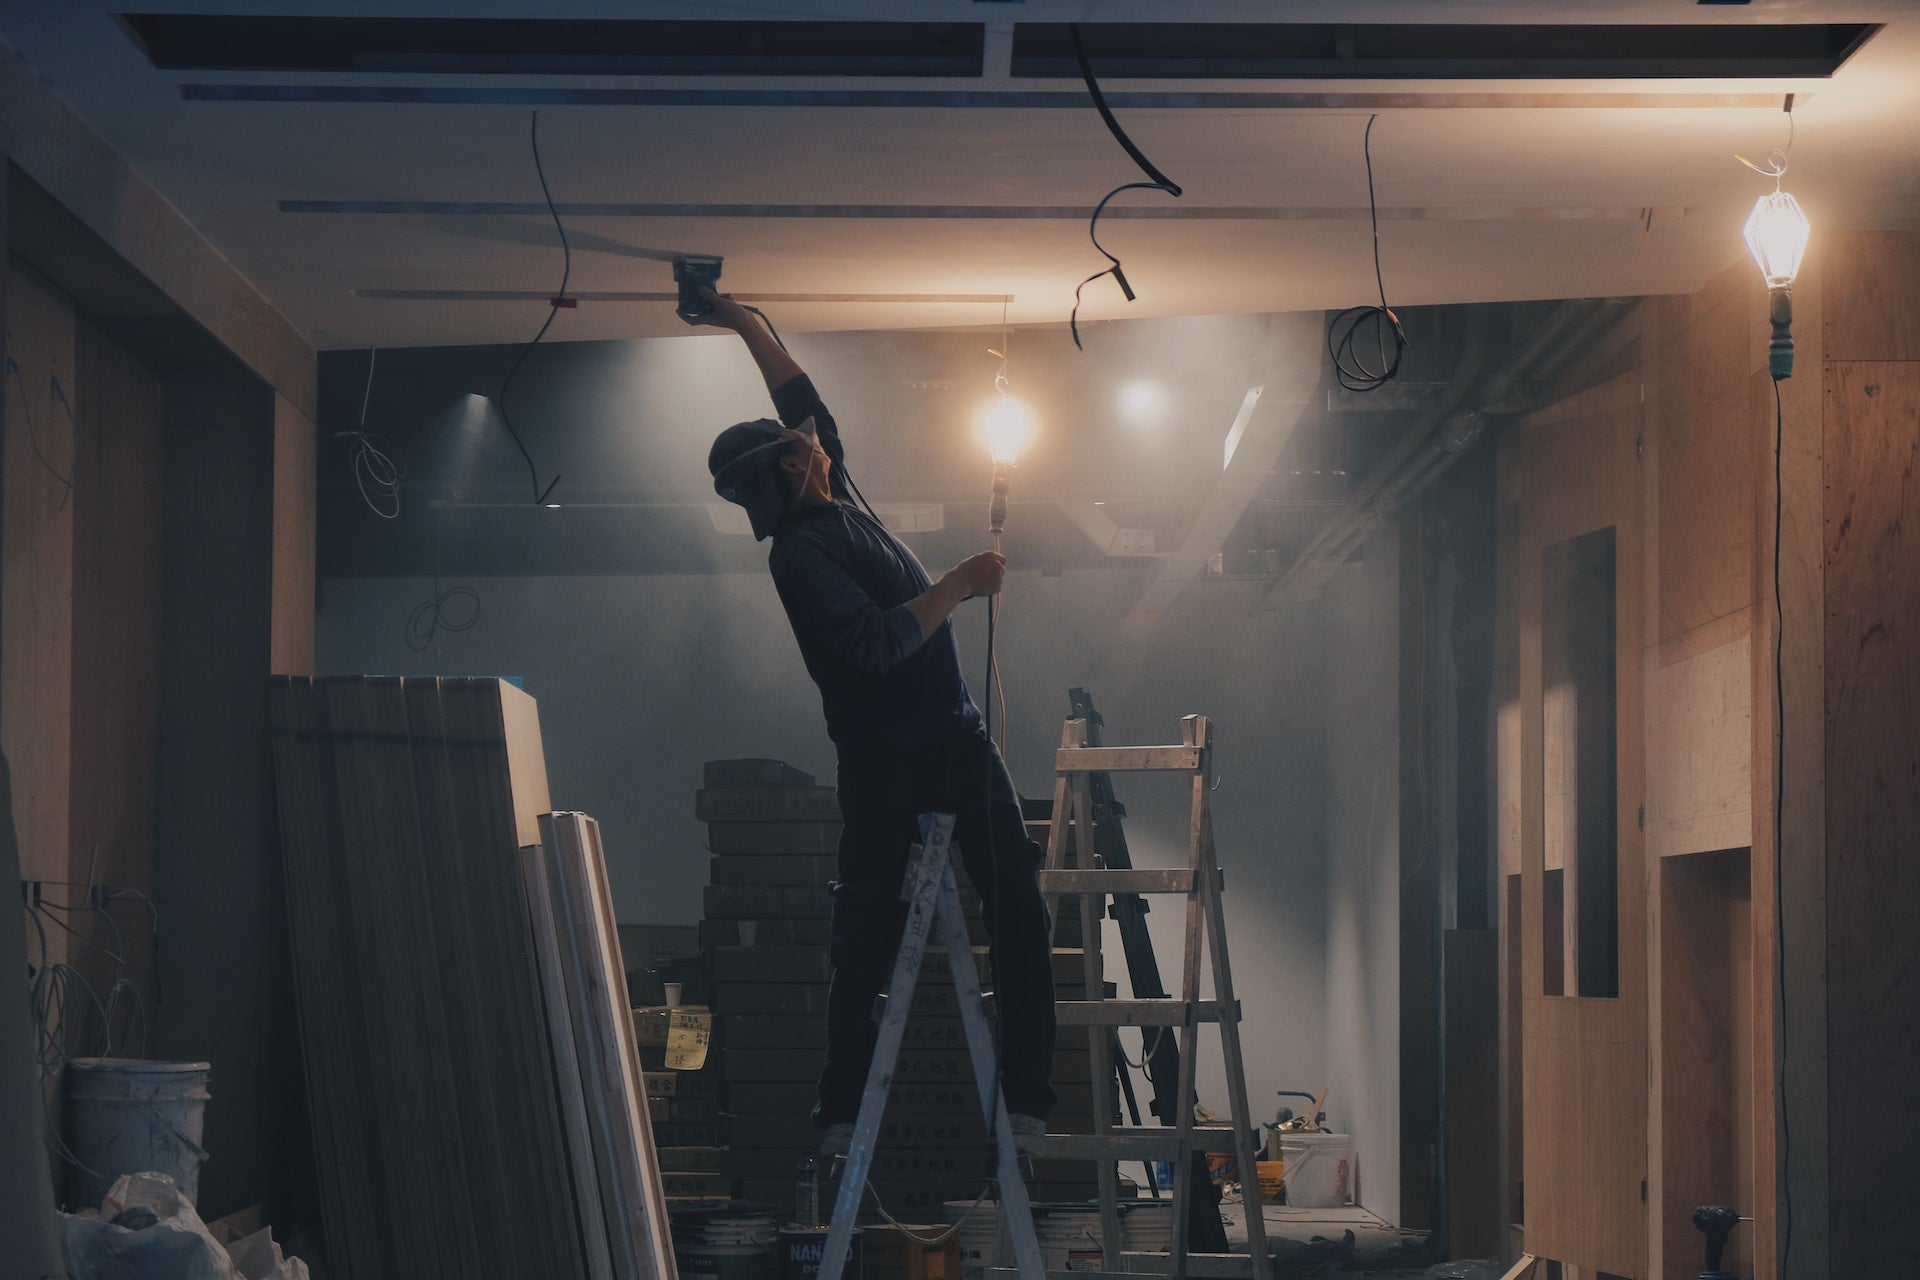
Concerned about high labor expenses? Installing floor insulation yourself is completely doable for the cost-conscious DIYer willing to exercise care and patience. Underfloor batts demand little expertise beyond measuring cavities accurately and securing batts properly so they never sag or move from the place. Sturdy wire lattices running perpendicular across joists work well. Fiberglass batts and loose-fill cellulose also must meet minimum density and R-Value requirements, so review instructions thoroughly before purchasing materials. Exercise caution when working under buildings - bright work lights and dust masks improve safety and comfort substantially while navigating confined spaces.
For rigid foam boards above or below concrete slabs, construction adhesive selected for each material surface firmly bonds layers in place. Carefully pressure and smooth boards as adhesive cures for optimal adhesion strength. Cut boards with fine-toothed saws to tailor around posts and footers neatly. While seemingly straightforward, technique matters greatly for getting insulation levels and air sealing completely right.
Pat yourself on the back proudly when finally examining cozy floors, enjoying upgraded thermal efficiency thanks to your blood, sweat, and elbow grease! Those willing to learn will discover even beginners can DIY surprisingly formidable insulation results and start saving money on energy.

Enjoy Years of Valuable Rewards
Once floors integrate proper insulation suited to construction and climate challenges, homeowners stand to gain a better living through efficiency over many years:
Slashed Energy Bills
Bid farewell to excessive utility bills! Insulated floors prevent conductivity so well that the DOE estimates homeowners may save up to 15% on energy costs annually. Set your programmable thermostat lower without sacrificing comfort. Zonal heating and cooling grows even more affordable.
Consistent Underfoot Warmth
Forget about socked feet getting cold just minutes after leaving cozy beds. Proper insulation balances temperatures across the home for uniform comfort and warmer floors.
Peaceful Environments
With less energy escaping through cracks, insulated floors also muffle both airborne and footfall noise transmission, irritating multi-level homes.
Added Resale Value
Did you know insulation consistently ranks among the most desired home upgrades? Expect slightly higher appraisal values and faster sale times for open houses.
Smaller HVAC Equipment
Lower net heat losses enable downsizing heating equipment capacities for additional savings on equipment and lifetime operating costs.
Weigh Insulation Investments Against Guaranteed Long-Term Savings
Quality floor insulation requires an upfront investment, yes. But rest assured - well-planned improvements saving money year after year should not be viewed as expenses. Nor are comfort, beauty, and functionality merely luxuries. Compared to dizzying energy costs from heat billowing straight through bare subflooring daily, reasonable insulation upgrades provide overwhelming, measurable rewards.
Typical Material & Installation Costs Per Square Foot:
- DIY Loose-fill fiberglass- $0.40 to $1.10
- Cellulose insulation: $0.60 to $2.30
- Rock wool insulation: $1.40 to $2.10
Many utilities and local governments offer hefty rebates, diminishing installation costs by up to 50%. With insulation consistently lowering home energy bills by 10-30% annually, the initial upgrade investment fully pays for itself in as little as 3-5 years through heating and cooling savings alone! Contact local efficiency programs to learn more about incentives in your area.
Shield Floors During Installation
With demolition, modifications, and construction mess inherent to most retrofit insulation projects, protect existing flooring finishes throughout material handling and installation. Then, simplify the restoration of beautiful floors after the dust settles. Plan ahead before inviting the chaos.
Clear Furniture and Valuables
Relocate moveable furnishings, artwork, and electronics away from active work zones first. For wall-to-wall flooring protection, transfer items into adjoining rooms sealed off by plastic barriers rather than attempting piecemeal coverage. Prevent scratches, dents, and dust infiltration around remaining valuables using drop cloths secured snugly.
Deposit Demolition Debris Directly Into Removal Containers
Line removal pathways with rosin paper for grip, aiming to prevent gritty debris from ever contacting floors. Use thick plastic sheeting, securing edges with tape, as temporary floor protection through high-traffic routes. Sweep frequently to remove incoming dirt. Avoid debris piles accumulating on protected floors. Deposit directly into trash cans using nearby stepladders for convenience and safer lifting mechanics.
Adhere to Insulation Without Complication
For insulation adhered atop flooring, thoroughly clean/degrease surfaces first according to manufacturer guidelines for proper bonding. Ensure chosen adhesives suit both insulation material and floors finished. Misusing adhesives corrodes flooring finishes quickly and must be remedied through costly removals or replacements immediately. Verify seam tape and insulation board compatibility using manufacturer guidance as well. Follow all label application instructions carefully.
Restrict Access Until Restored
Allow adhesives proper curing times indicated before walking on insulation or recovering flooring layers. Even while cured, limit foot traffic and loading as much as possible until new floors fully protect the insulation underneath. Replace furniture carefully using moving straps instead of dragging to prevent damage.

Utilize Temporary Floor Protection
Installing insulation and other construction projects inevitably involve significant mess and debris, which can irreversibly damage expensive flooring materials if left unprotected. Effective floor protection keeps harmful construction debris from permeating the surface while stabilizing high-traffic pathways for safe mobility. Durable coverings also prevent scuffs, scratching, cracking, and chemical spills from marring surfaces, maintaining the flawless finishes and sanitization homeowners previously invested in.
By thoughtfully protecting floors in advance, construction mess becomes manageable rather than maddening. Floors keep charming finishes intact, and your back thanks you later for keeping move-out/move-back strain minimal!
Step Confidently Into Cozier Cost-Saving Floors
Why waste another costly heating season and suffer from chronic discomfort through inefficient floors? Stop conditioned air from escaping literally out from under you! Commit now to select floor insulation improvements producing more stable temperatures, energy savings, and vastly improved whole-home comfort decade after decade. With some assessments, calculations, product research, and smart installation, you can transform even the draftiest floors into luxuriously warmer spaces your family will deeply appreciate. Just take that crucial first step!
Leave a comment
All comments are moderated before being published.
This site is protected by hCaptcha and the hCaptcha Privacy Policy and Terms of Service apply.