

Introduction
A touch of hardwood flooring unfailingly amplifies the aesthetic value of any abode. A task of DIY (Do-It-Yourself) installation may seem daunting, but with our all-inclusive guide, you're armed with all the expertise you need to successfully accomplish this home transformation.
Who's This Project Tailored For?
Before embarking on this journey, it's crucial to gauge your readiness for this venture. It's ideal for DIY enthusiasts comfortable with power tools, precise measurements, and able to endure physical labor. If this resonates with you, be prepared for a rewarding and enriching experience that comes with self-installed hardwood floors.
Costs of Hardwood Floor Installation
The cost to install hardwood flooring can vary based on your hardwood type, your home's specific layout, an?:installation.
Typically, you can expect it to be in the range of $4-$12 per square foot. So, for a 1000-square-foot space, that's roughly $4,000 to $12,000. However, taking the DIY route can lead to substantial savings in labor costs, potentially slicing your total expenditure by half.
DIY Materials Checklist
To execute a successful hardwood floor installation, you'll need:
- Hardwood Planks: The star of your project, available in a plethora of types, widths, and finishes. Always remember to purchase about 10% more than your calculated square footage for cuts and potential wastage.
- Underlayment: A protective layer between the subfloor and the hardwood planks. It cushions, dampens noise, and provides moisture protection. An underlayment might be particularly advantageous for floors installed over concrete or below grade.
- Tools: A variety of tools are essential for a smooth installation. This includes a measuring tape, circular saw, pry bar, hammer, and nail gun. If you're gluing your flooring, you'll need a trowel and a suitable adhesive.
- Additional Supplies: Prioritize safety and comfort. Safety glasses shield your eyes from dust and debris, while knee pads make the job more comfortable. A chalk line is useful for marking straight rows, and wood putty fills minor imperfections.
- Finishing Supplies: After installing your hardwood floor, you'll need to finish it. This might include baseboard or quarter round to cover the expansion gap around the room edges, and a sealant or finish to protect the wood.

Step-by-Step Installation Guide
Let's embark on this gratifying DIY journey together. As you might use a map for a road trip, we provide a detailed guide to steer you through the process. Follow these steps to ensure you can successfully install your hardwood floor:
- Preparation: As with every great journey, your hardwood installation project begins with thorough preparation. Your subfloor plays a vital role as the foundation upon which your hardwood floor rests.
- Cleaning: Start by clearing the area of any debris or dust using a broom or vacuum cleaner. This process prevents any particles from causing irregularities in your floor.
- Checking for Dryness and Level: A moisture meter can be a handy tool to confirm your subfloor is dry. For the level, use a spirit level to check the evenness of the floor. Any high spots can be sanded down, and low spots filled with a leveling compound.
- Removing Obstructions: Base moldings, door thresholds, or any other protrusions that might interfere with your floor installation must be removed. Keep them safe as you'll need to reinstall them after your new floor is in place.
- Underlayment Installation: The underlayment is an unsung hero of flooring installations. It serves as a smooth base for your hardwood, reduces noise, and protects against moisture.
- Spreading the Underlayment: Begin at one end of the room and roll out the underlayment across the floor. Ensure the underlayment doesn't overlap or bunch up as it can lead to a lumpy and uneven floor.
- Securing the Underlayment: Use a staple gun or duct tape to secure the underlayment in place. This step prevents it from shifting during the installation process.
- Layout Planning: A well-thought-out layout is the cornerstone of a visually appealing hardwood floor.
- Aligning Planks: Your planks should run perpendicular to the floor joists. This direction offers maximum stability and a harmonious visual appeal.
- Finding the Center: Measure and mark the center of the room. This midpoint serves as your guide to ensure your layout remains balanced.
- Snapping Chalk Lines: Using the center point, snap chalk lines to visualize the layout of your planks.
- Staggering the Seams: Make sure to stagger the seams of your planks. This technique strengthens the floor and gives it a more natural look.
- Hardwood Installation: This is where the magic happens! Now you get to see your hardwood floor coming together.
- Choosing the Planks: For the first row, select the straightest planks. This ensures a solid starting point for your installation.
- Aligning the Planks: Align these planks with the chalk line, maintaining a gap of about half an inch from the wall to allow for expansion.
- Securing the Planks: Whether you're nailing or gluing down your planks, ensure they are secure. For nailing, use a flooring nailer and for gluing, apply a generous amount of flooring adhesive on the subfloor.
- Final Touches: With the installation complete, the focus shifts to finishing touches that give your hardwood floor its final polished look.
- Filling Nail Holes: Any visible nail holes can be filled with wood putty that matches your hardwood color. Smooth it over for a seamless finish.
- Cleaning the Floor: Give the floor a thorough sweep or vacuuming to remove any dust or debris from the installation.
- Installing the Molding or Baseboard: Finally, reinstall the base molding or baseboard you removed during the preparation stage. This detail not only covers the expansion gap around the edges but also provides an aesthetically pleasing finish.
With these steps, your room is sure to have a hardwood floor that radiates a polished and professional charm. Remember, patience and attention to detail during the process will yield a result that you can be proud of.

Vital Considerations for Hardwood Floor Installation
While the installation process is important, there are finer nuances that contribute to the longevity and aesthetics of your hardwood floors. Keep these considerations in mind as you navigate through your hardwood floor installation journey.
- Acclimation: Let your hardwood planks acclimate to the room's humidity level for at least 48 hours before installation. This helps prevent warping or shrinkage.
- Expansion Gap: Leave a small gap around the room edge for hardwood expansion and contraction with temperature and humidity changes. This gap is usually covered by base molding or quarter round.
- Walking on New Floors: Wait at least 24 hours before walking on your new floors. This allows the adhesive to fully set and ensures a stronger bond.
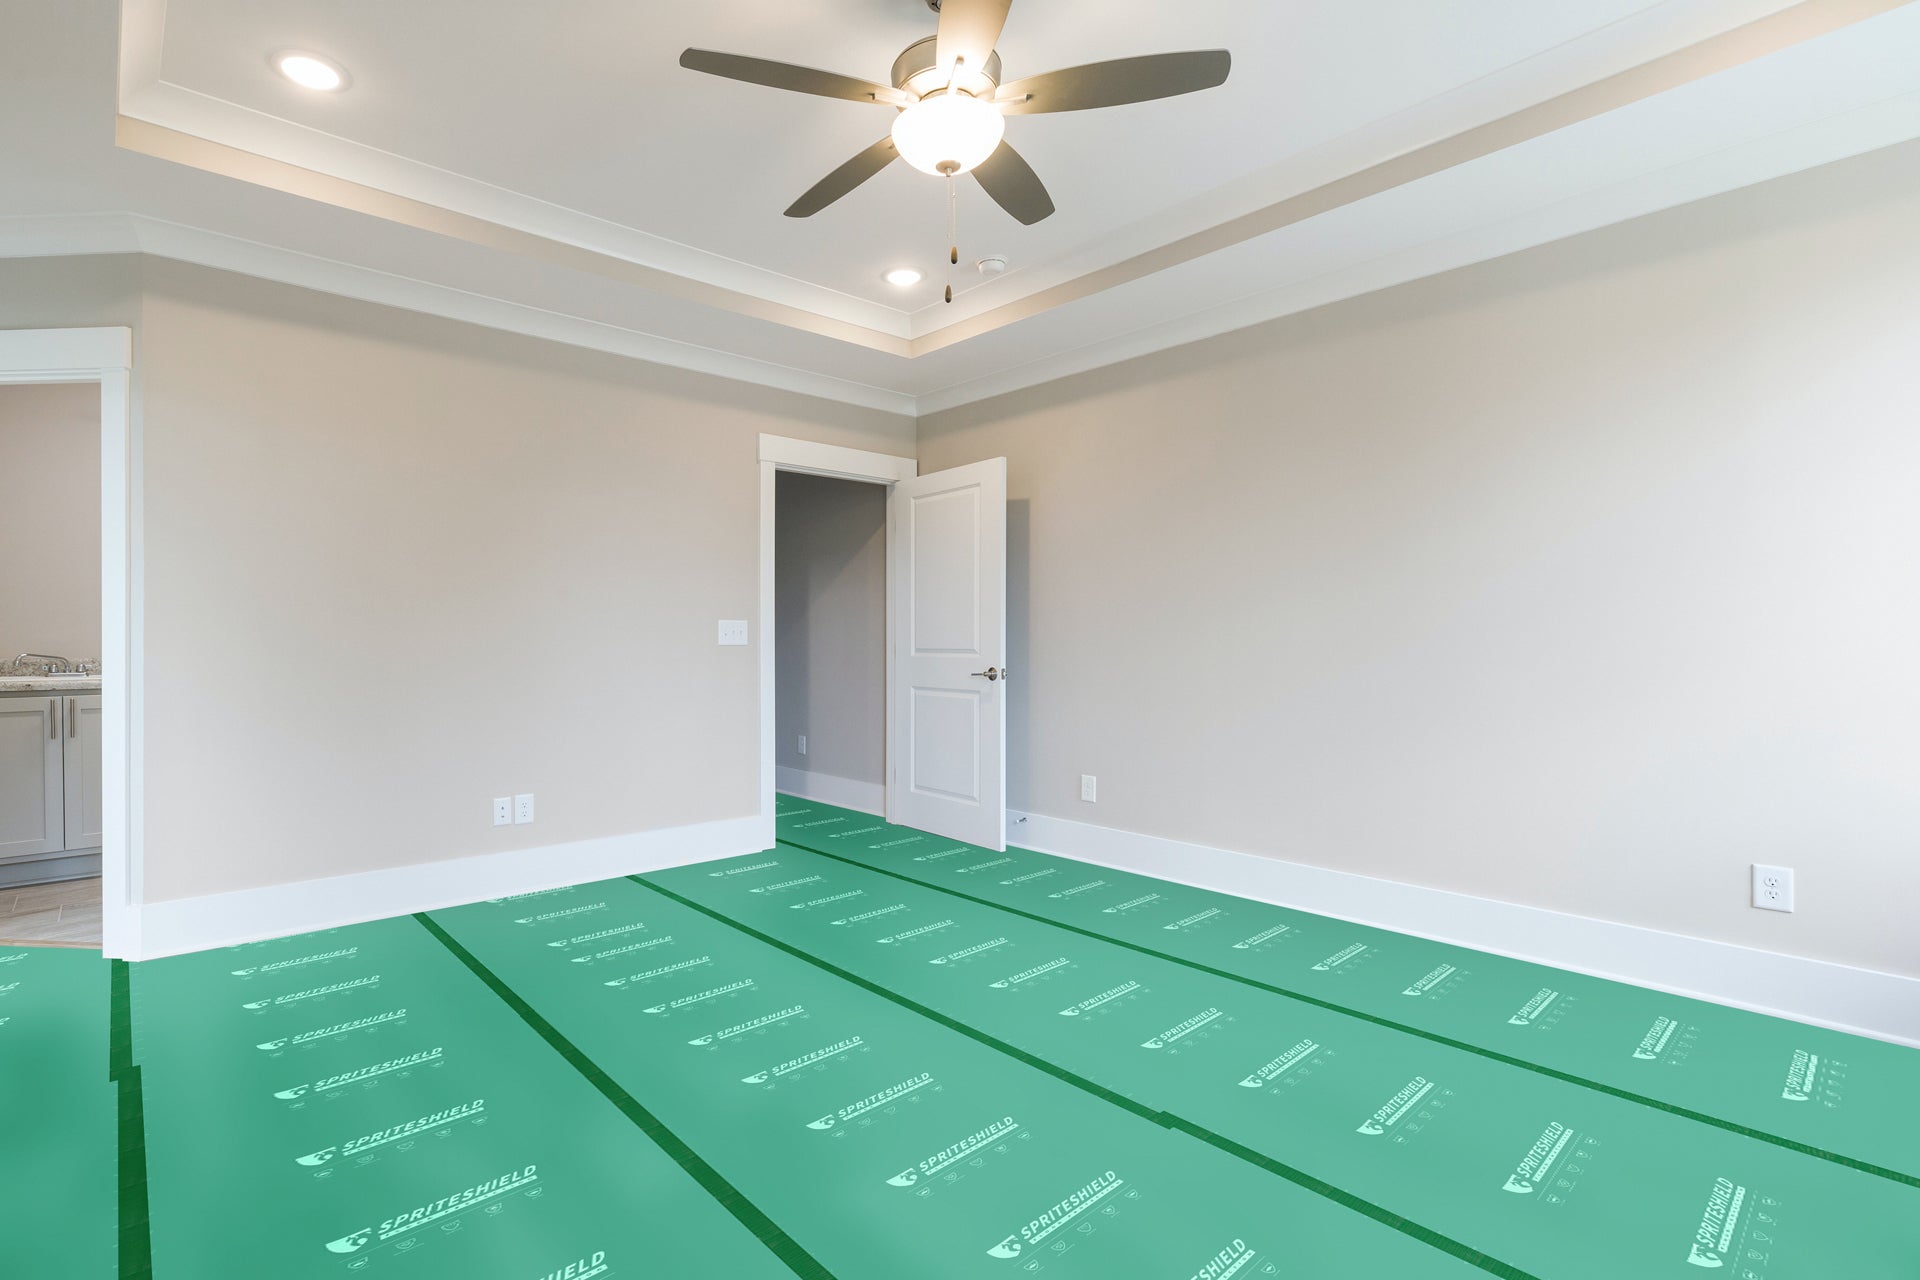
- Temporary Floor Protection: Consider temporary floor protection during installation and even after, particularly if there's heavy furniture or foot traffic.
Maintaining Your Hardwood Floors
Regular cleaning prevents scratches from dust and debris. Clean spills promptly to prevent staining or warping. Periodically, use a recommended wood floor cleaner for deep cleaning. Avoid harsh or abrasive cleaners. Refinish your hardwood floor every few years to maintain its luster and elegance. If you want to have a better grip on how to maintain hardwood floors, please go to Protect Hardwood Floors: 9 Easy Maintenance Tips in 2022 for more detailed information.
Conclusion
In conclusion, DIY hardwood floor installation is an achievable venture that can revolutionize your home's ambiance. With meticulous planning, appropriate tools and materials, and a bit of perseverance, you'll have a splendid and durable hardwood floor that radiates charm and pride. And with proper maintenance, your hardwood floor's beauty will endure for years to come.
Read More
- Pet-Centric Home Improvement: How to Build A Dog House?
- Temporary Flooring Protection Cutting Knife: How to Use
- Safeguard Your Floors! Top Challenges & Solutions for Temporary Protection
- 5 Stages of Home Reconstruction: Create Your Dream Space Today!
- 9 Easy Home Refresh Projects: Transform Your Space in a Weekend!

Leave a comment
All comments are moderated before being published.
This site is protected by hCaptcha and the hCaptcha Privacy Policy and Terms of Service apply.